
Cleaning your coffee equipment is probably the least enjoyable and most frequently postponed of all the coffee-related activities. Most people don’t think about cleaning their coffee makers until a sour, over-burned flavor infiltrates their coffee and makes it taste bad.
Cleaning isn’t glamorous, but it’s necessary. Mold can grow in moist areas, such as your coffee maker’s water reservoir, or in coffee brewers that have not been thoroughly dried. Running hot water through it, as you would when brewing, is insufficient to keep this nasty stuff from polluting the environment in which your coffee is brewed.
In addition, old brews will leave traces inside any coffee maker over time, which can affect the final taste of the coffee. And I don’t mean that in a good way. Cleaning your tools is critical if you want to always have the best coffee you can brew using your preferred method. But how often? And in what way?
Obviously, not all coffee makers are the same, and not all must be cleaned in the same manner. The way the coffee flows through it and the location of the water in it influence how and how often that specific coffee maker needs to be cleaned. Let’s start with how frequently you should clean your coffee equipment, and then we’ll go over how to clean each of the most common coffee makers.
When should you clean your coffee maker?
Every day, ideally. However, not every part of your coffee maker needs to be cleaned on a regular basis. Some only need to be cleaned once a month or so. Let’s take a look at what needs to be cleaned on a daily basis and after each use.
After each use, all removable parts, such as the lid, metal filter, and carafe where coffee is brewed, should be rinsed with water. It is preferable to clean with dish soap and thoroughly rinse afterwards. Ensure that no traces of soap remain in any part of your coffee maker: not only will it be harmful to your health, but it will also cause your coffee to taste strange.
Some of these removable parts are dishwasher safe. Check the instructions for your coffee maker to see which are and which aren’t. A moderately hot dishwasher cycle will suffice to clean these parts.
Cleaning non-removable parts will be more difficult. Cleaning the inside of a coffee maker, the internal tubes through which the coffee runs, or a non-removable water reservoir will be much more difficult. Fortunately, they don’t have to be cleaned every day; once a month will suffice.
If possible, flush out the coffee residues by running hot water through your coffee maker after a few brews, and once a month consider a more thorough cleaning. Disassemble the coffee maker as much as possible and clean it with gentle soap and water, scrubbing where necessary. Commercial soaps can be substituted with vinegar, lemon juice, and salt.
On a regular basis, check the water reservoir or any other parts of your coffee maker that may have had water in them for an extended period of time. These are the areas where mold can grow, and at the very least, flushing out all of the water and allowing the humidity to naturally dry will keep mold at bay.
Use soap water to clean these parts once a month, as soap can prevent mold for longer than hot water alone.
Cleaning should be done on a regular basis for all coffee makers.
As previously stated, each coffee maker requires a different cleaning method and routine. Let’s take a closer look at some of the most common coffee makers and how to clean them.
Drip Coffee Maker
A drip coffee maker is a complicated machine with many moving parts. Cleaning it is a difficult task in general. It entails a number of steps.
First, make sure all grounds, dust, and other debris have been removed from the drip coffee maker. In the tightest spaces, use a damp cloth or a small brush if possible. Once the solids have been removed from the machine, start the cleaning cycle.
Fill the water tank halfway with vinegar and half with water, and use a paper filter to catch any remaining solids from your previous manual cleaning. Half of the vinegar/water solution should be brewed. Allow it to sit for about 30 minutes in the coffee maker. After that, finish brewing everything. Remove the paper filter and restart the brewing cycle with fresh water.
These are the essentials. You won’t need anything else, but you might want to scrub the carafe with a cloth every now and then to remove any markings or coffee residues. However, anything that could scratch it should be avoided.
Follow the instructions in your drip coffee maker’s manual to perform a full descaling of the machine on a regular basis to avoid limescale or calcium deposits.
Pour over
The pour over coffee maker is much easier to clean than a drip coffee maker, with one exception: the bottom half is inaccessible. It won’t need to be cleaned more than twice a month, but make sure to thoroughly rinse it after each use.

Follow these steps to clean your pour over: Fill the bottom half of the container halfway with room temperature water, then top it off with a handful of ice cubes or crushed ice. Combine four teaspoons of salt, one teaspoon of water, and one teaspoon of lemon juice in a mixing bowl.
Swirl the mixture around to coat the entire surface of your pour over coffee maker. The ice and salt will be sufficiently abrasive to remove the majority of the dirt without scratching the glass.
Pour everything down the drain and rinse with cold water once it’s clean. If you use hot water, the temperature difference with the salty iced water may cause the pour over glass to break. If any dirt remains, you can either repeat the procedure or manually scrub it away with a soft brush and a little dish soap.
Cold Brewer
Cold brew coffee makers are typically pitchers equipped with a filter basket that holds the coffee grounds. As a result, they should be easy to disassemble and clean on their own. Remove as many parts of the main body as possible and clean each one separately with dish soap and a gentle scrub. Check that all of the parts have completely dried before reassembling.
This should ideally be done after each batch, but it can be done once a month if necessary. It is enough to rinse the filter once a day, and if it appears to be dirtier than usual, use a brush with soap as well.
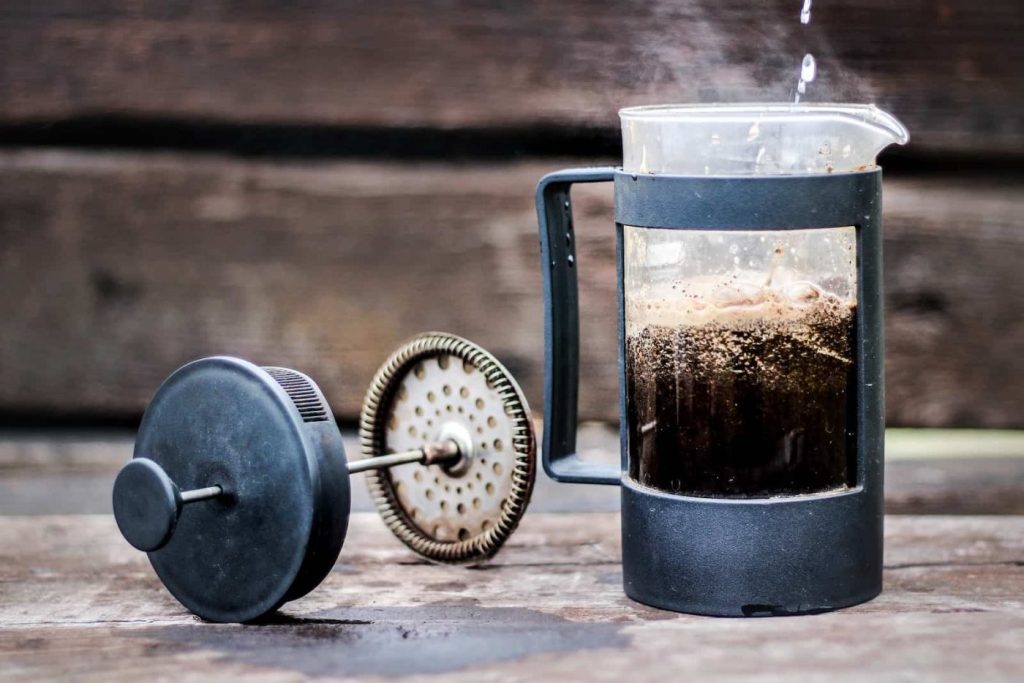
French Press
The French Press is a jumble of parts that, thankfully, can be disassembled easily. To start cleaning a french press, remove the plunger and fill it with warm water. To absorb the majority of the coffee grounds, simply swirl it. The water should then be strained through a mesh strainer in the sink.
To remove oils and stains, scrub the interior of the French press with a brush or a cloth soaked in dish soap. Rinse the entire French press, plunger and all, thoroughly before using it again.
It would obviously be preferable if the French press could be cleaned in this manner after each use. For the time being, a daily rinsing with hot water will suffice, with the larger cleaning reserved for once every two weeks.
Aero Press
The Aero Press is very easy to clean. Simply rinsing the plunger’s main body and wiping away the rubber seal is all that is required. If you believe the interior needs to be cleaned further, rub any remaining residue with a damp cloth and dish soap. You can also simply toss the Aero Press in the dishwasher because it is dishwasher safe.
However, after each use, make sure to clean this tiny coffee maker. Aside from that, it’s a very simple coffee tool to keep up with.
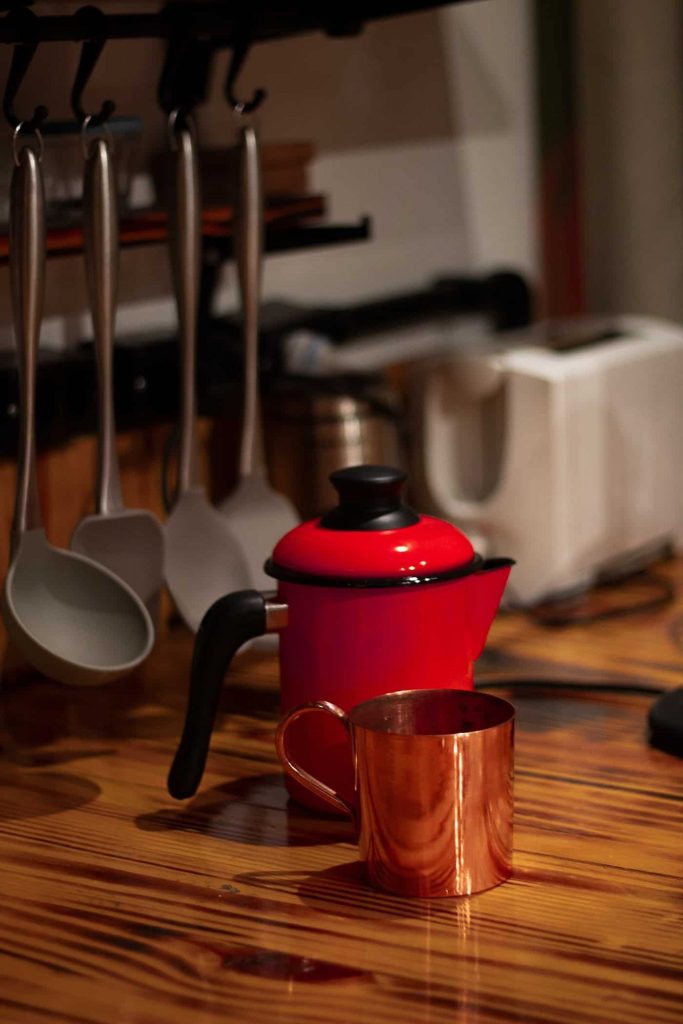
Percolator
Regularly rinsing any percolator coffee maker with warm water should be enough to keep it healthy and operational for many years. However, you should give it a thorough cleaning every now and then.
To begin, fill the percolator halfway with water. Add three tablespoons baking soda and stir to combine. Turn it on and wait for it to complete the brewing cycle. After the water has naturally cooled, scrub the inside of the percolator with a brush. Take the water out and thoroughly rinse it. Then, repeat with half water and half vinegar. Allow to dry after scrubbing and rinsing.
Once a month, this double brewing cycle will suffice to keep the percolator coffee maker in good working order.
Signs that your coffee maker needs to be cleaned
You may have noticed that there is no universal rule for how often a coffee maker should be cleaned. Everything depends on how often you use it, how much coffee you brew, what kind of water and coffee grounds you use, and so on. More important than sticking to a strict schedule is learning to recognize the signs that your coffee maker needs to be cleaned.
The first sign is if your coffee tastes off. That is a clear indication of the presence of elements that should not be present in coffee.
If the coffee maker takes longer to brew or is louder than usual, it could be due to solid residues accumulating inside it, making brewing more difficult for the machine. Similarly, if the coffee maker does not brew at all or spills coffee, this is an urgent sign that it is dirty on the inside and may be breaking up. Clean it as soon as possible.
Of course, this is only applicable to non-manual coffee makers. In the case of an Aero Press or a pour over, you may want to pay close attention to both the taste and the visual state of the coffee inside. If it isn’t exactly as you bought it, clean it right away.
Pro Tips
Use the dishwasher whenever possible. Many parts of a coffee maker are dishwasher safe; use this to your advantage by saving time and energy with a good dishwasher cycle.
Make a mental note of how your coffee tastes. It is the first and most obvious indication that your coffee maker requires cleaning. Also, if you can test the water you’re brewing with to see if it’s hard or very hard. That means you’ll have to keep an eye out for limescale or calcium buildup inside the coffee maker. Make a large batch of vinegar or professional descaling mixtures to be used for frequent descaling of your machine. In the worst-case scenario, descaling may be required up to once a month.
Those with access to soft water may require descaling once or twice a year.
Make it a habit to disassemble and clean your coffee maker at least once a month. While it may appear to be superfluous, it will undoubtedly prevent the machine from breaking down sooner than it would otherwise.
